








Composting at home is a rewarding way to reduce household waste and create nutrient-rich soil for your garden. If you’re new to composting, it might seem complex at first, but with a few simple steps, you can get started easily. This guide will walk you through beginner tips to set up and maintain your own compost system.
Why Compost at Home?
Composting helps divert organic waste from landfills, reduces greenhouse gases, and enriches your soil. It turns food scraps, yard waste, and other organic materials into valuable compost that improves plant growth and soil health.
Choosing a Composting Method
1. Traditional Compost Pile or Bin
A compost pile is a simple heap of organic material. You can build one in your backyard or use a compost bin, which helps contain the materials and keep pests away.
2. Tumbler Composters
These are enclosed bins on a rotating axis, making it easier to turn the compost regularly. Tumblers speed up decomposition and keep the area tidy.
3. Worm Composting (Vermicomposting)
This method uses worms to break down food scraps in a small indoor bin. It’s ideal for apartment dwellers or those with limited outdoor space.
What to Compost: The Basics
Compostable materials fall into two categories: browns and greens.
Browns (Carbon-Rich Materials)
– Dry leaves
– Straw or hay
– Paper and cardboard (shredded)
– Wood chips or sawdust
Greens (Nitrogen-Rich Materials)
– Vegetable scraps
– Coffee grounds and filters
– Grass clippings
– Fresh garden waste
Avoid composting meat, dairy, oily foods, and pet waste as they attract pests and can cause odors.
Setting Up Your Compost
Step 1: Select a Location
Choose a well-drained spot with good air circulation, preferably in partial shade to keep moisture balanced.
Step 2: Start with a Base Layer
Begin your compost with a 6-8 inch layer of coarse browns like straw or small branches to encourage airflow.
Step 3: Add Browns and Greens in Layers
Alternate layers of browns and greens. Aim for about 3 parts browns to 1 part greens to maintain the right carbon-to-nitrogen ratio.
Step 4: Keep it Moist
Your compost should be as damp as a wrung-out sponge. Add water if it’s dry, or add more browns if it’s too wet.
Step 5: Turn the Pile Regularly
Use a garden fork to mix the compost every 1-2 weeks to supply oxygen and speed up decomposition.
Troubleshooting Common Compost Problems
– Bad odors: Usually caused by too much green material or poor air flow. Add more browns and turn the pile.
– Pile not heating up: Add fresh greens and ensure the pile is moist and large enough (about 3x3x3 feet).
– Pests: Avoid adding meat or dairy. Use a covered bin and turn compost regularly.
Harvesting Your Compost
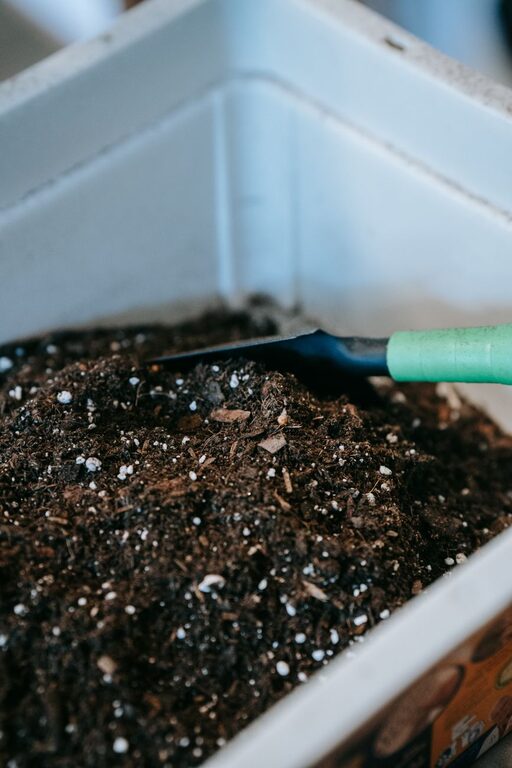
Your compost is ready when it looks dark, crumbly, and smells earthy. This can take anywhere from 3 months to a year depending on conditions.
How to Use Finished Compost
– Mix it into garden beds as a soil conditioner.
– Use it as mulch around plants.
– Blend it into potting soil for container gardening.
Tips for Successful Composting
– Chop or shred materials to speed up breakdown.
– Avoid adding diseased plants or invasive weeds.
– Be patient—composting is a natural process and takes time.
– Keep a small kitchen compost bin to collect scraps before transferring to the outdoor pile.
Benefits Beyond Gardening
Composting helps reduce your carbon footprint by keeping organic waste out of landfills. It encourages a more sustainable lifestyle and connects you with nature.
—
Starting composting at home is easier than you think. With these beginner tips, you can turn everyday waste into a valuable resource that benefits your garden and the environment. Happy composting!